How to repair the plate heat exchanger?
Jiangyin M&C Heat Parts Co.,Ltd share how to repair our plate heat exchangers?
The first step, prepare the following tools:

A tape measure A flat-blade screwdriver Four ratchet wrenches
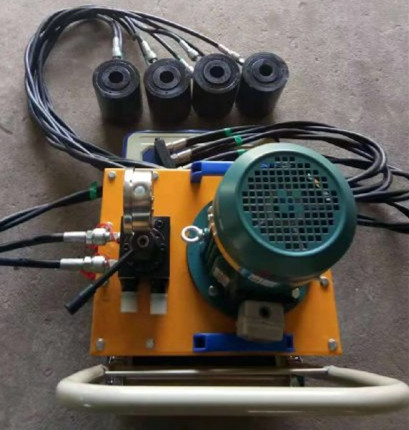
If there is a clamp, it is more convenient (as shown in the figure below). If not, the above tools can also facilitate our disassembly.

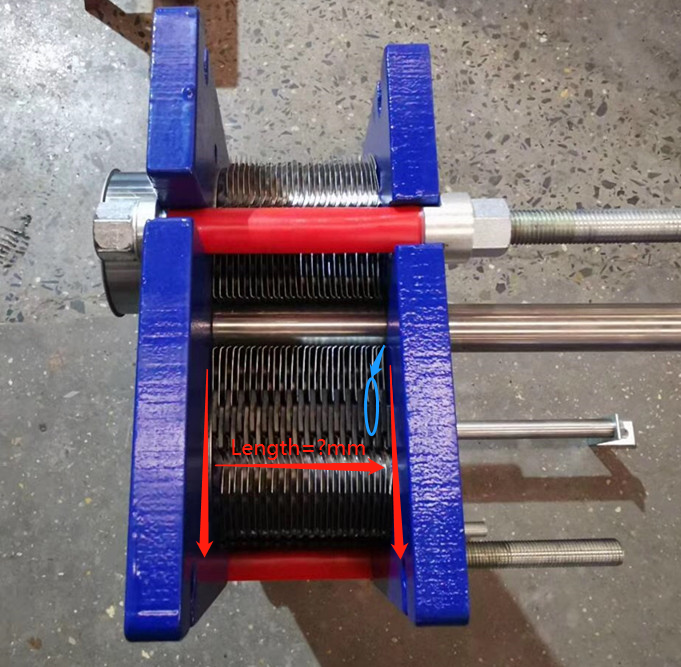
The second step is to measure the total thickness of the plate with a tape measure, as shown in the figure below:

Or count the total number of plates. If the number of plates is too much, you can count the buttons of the gasket and multiply by 2 to get the total number of plates (the blue framed part in the above picture). During the counting process, record at the same time Approximate number of pieces living at the location of the leak.
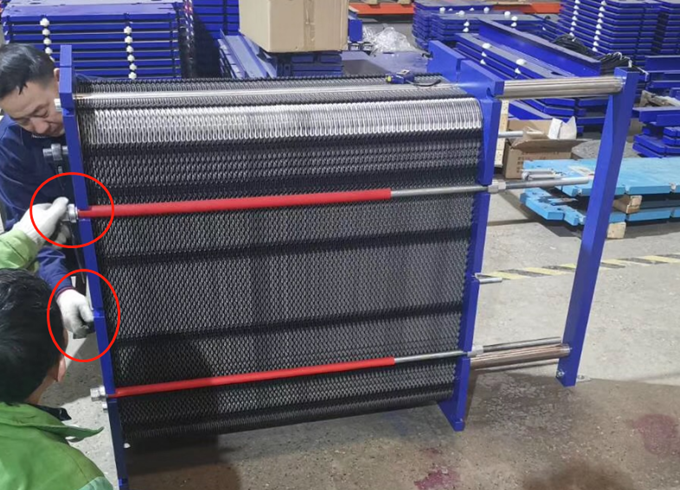
The third step is to find a suitable wrench to loosen the tie rod bolts of the plate heat exchanger. When loosening, be sure to slowly loosen diagonally and observe the nut at all times to prevent the nut from falling off and hurting people.

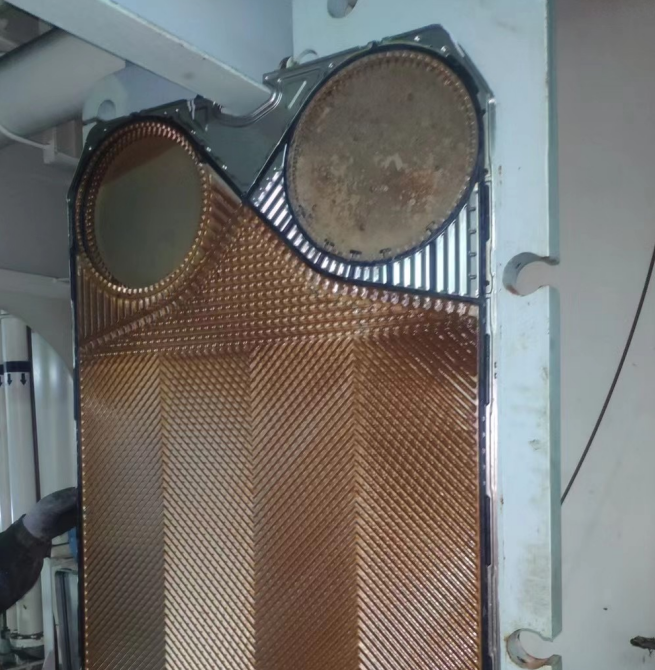
The fourth step, after removing all the tie rod bolts, move the back frame to the back support, and then move the plates to the back frame one by one until the leaked plate position: the general cause of leakage is the removal of the gasket. If the gasket is deformed, replace it with a new one. After the replacement is completed, the plates are moved to the original position and the back frame is also moved to the original position. Illuminate the honeycomb position of the plate with a flashlight to see if there is any misalignment of the gasket. If there is, use a flat-blade screwdriver to put the gasket into the slot of the plate.

The fifth step, after the gasket is checked, you can tighten the tie rod bolts to the size you just measured, or as much as 3-5mm.
In this way, the repair of the entire plate heat exchanger is completed.
If you have any plate heat exchanger questions, please contact MC Heat Parts any time!
